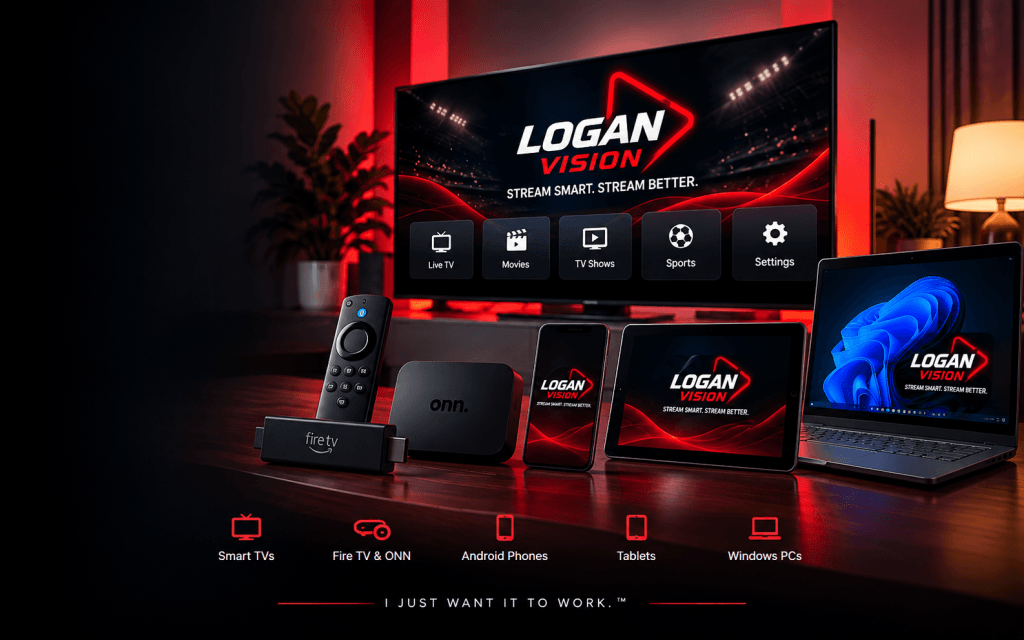
Setting Up Logan Vision?
Start Here.
Follow the steps below to choose your device, install the correct app, enter your Logan Vision login details, and start streaming.
✓ New to Logan Vision? Start with Step 1 below.
Choose Your Device
Select the device you want to set up first. Each device uses a specific app and installation method, so choose the correct device below before continuing.
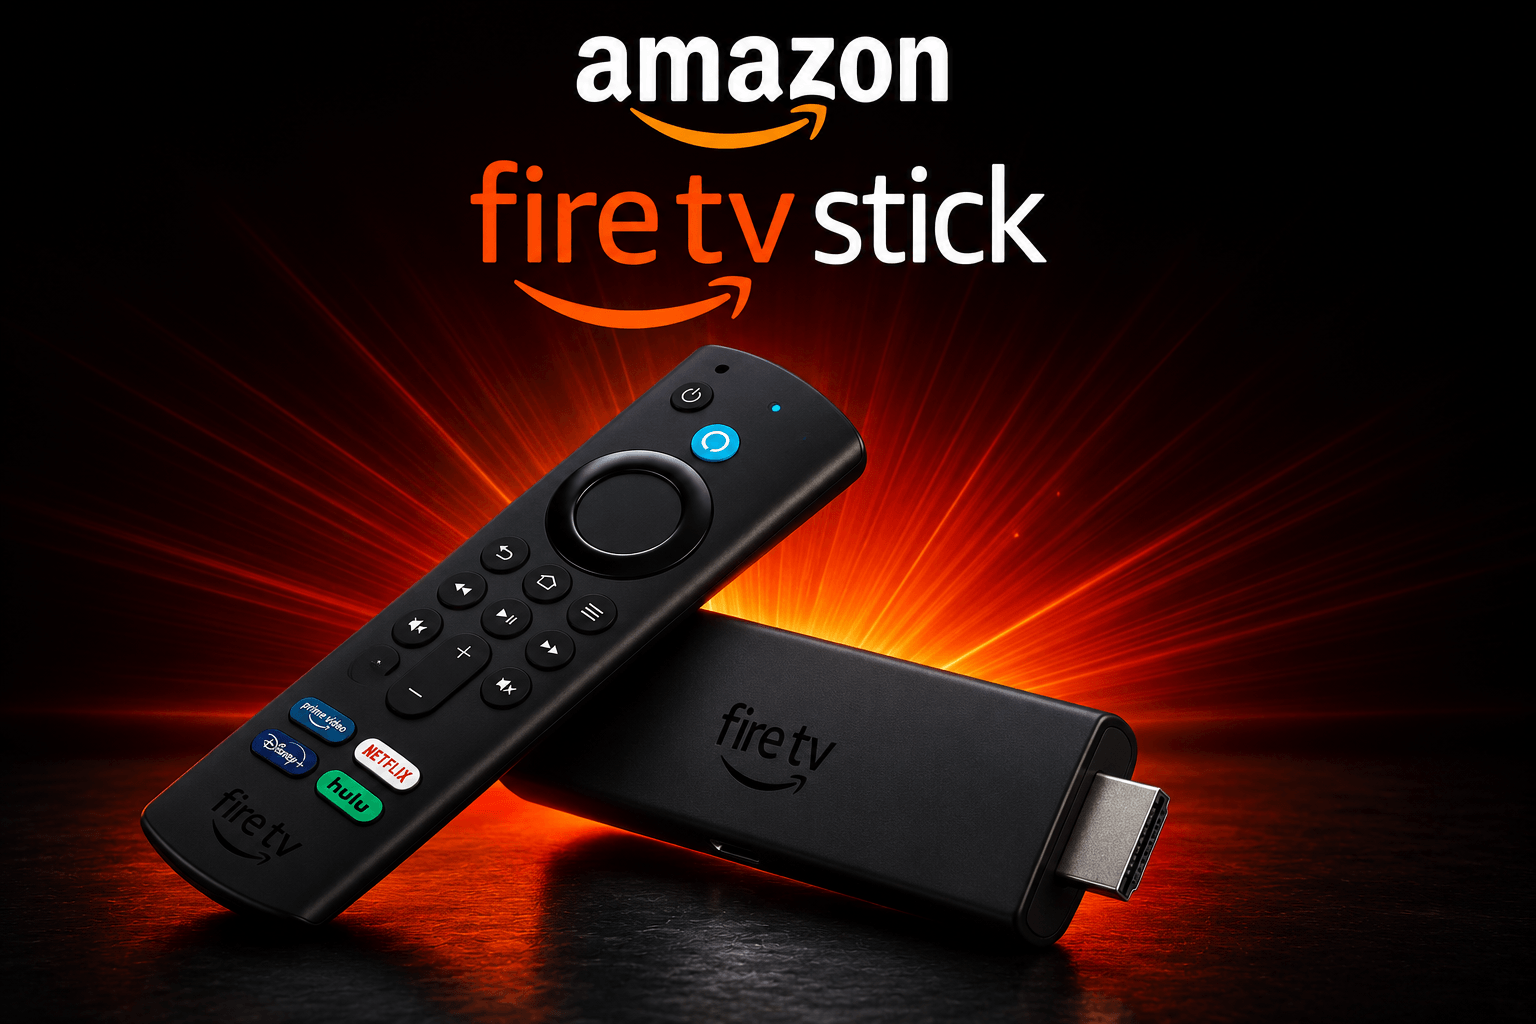
Fire TV Stick
Install Downloader first, enter the Logan Vision code, and use it to install Generic Smarters.
View Fire TV Setup →
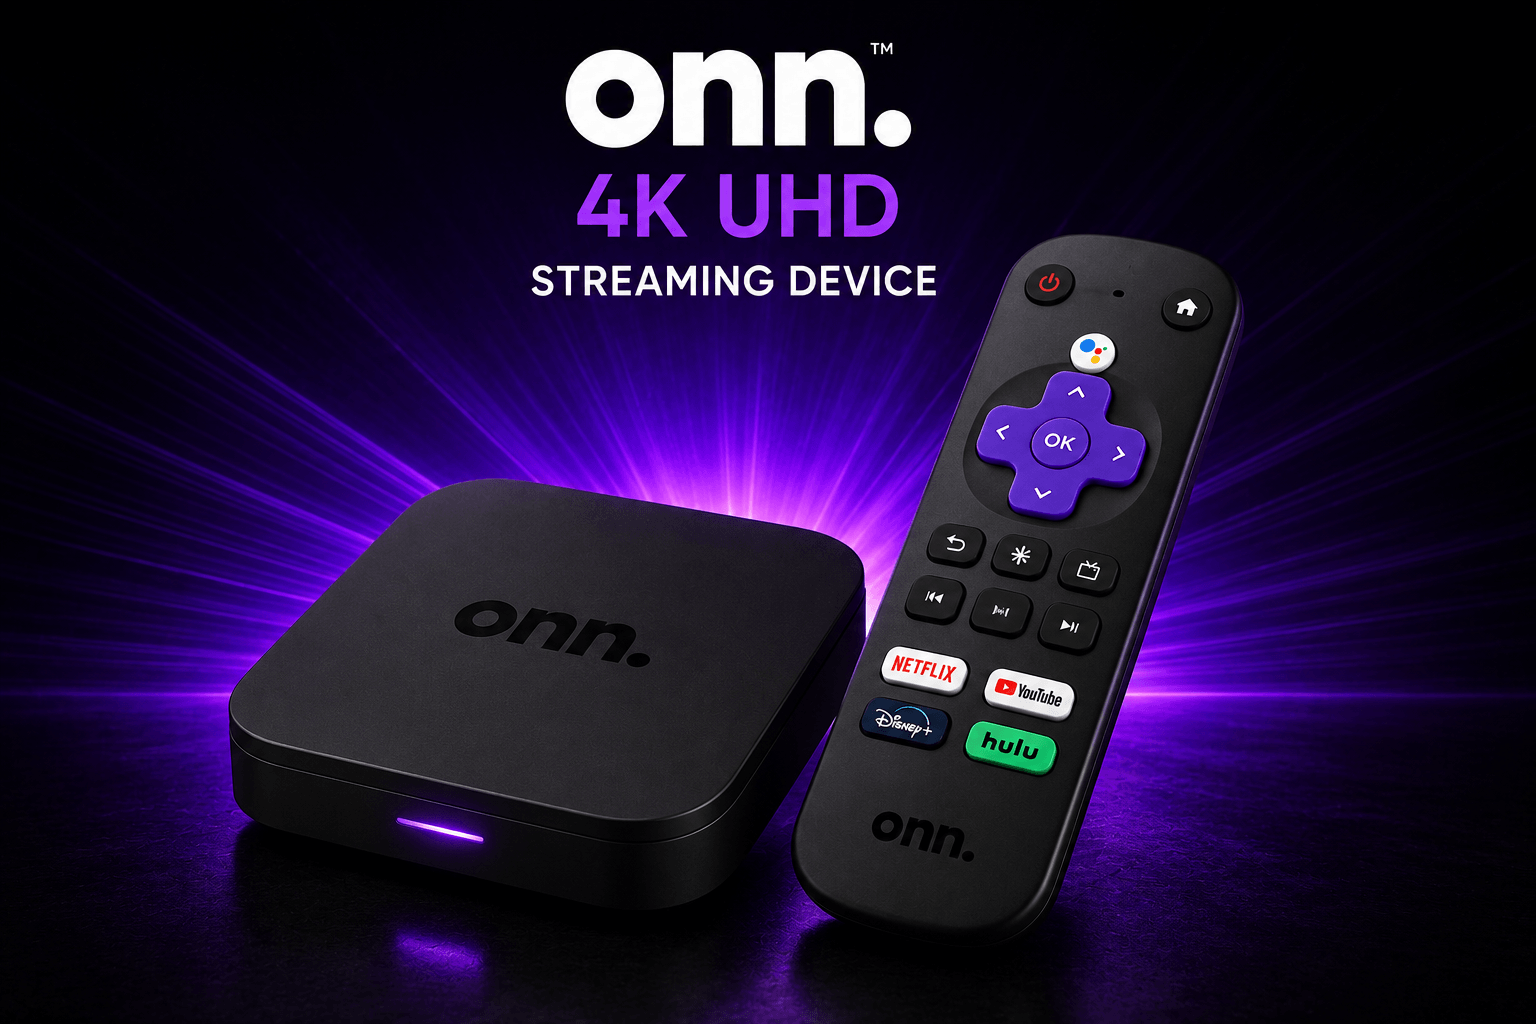
ONN / Google TV
Install Downloader first, enter the Logan Vision code, and use it to install Generic Smarters.
View ONN Setup →
iPhone / iPad
Make sure you choose the correct Smarters Player Lite listing before entering your Logan Vision details.
View iPhone / iPad Setup →
Android Phone / Tablet
Install XCIPTV PLAYER from Google Play, then follow the Logan Vision Android setup guide.
View Android Setup →
Windows Computer
Make sure you install the ssProx version, then follow the Logan Vision Windows setup guide.
View Windows Setup →Get & Install the Correct App
Use the app listed for your device below. Installing the correct app now helps prevent login errors and setup problems later.
Generic Smarters
- Open Downloader on your Fire TV or ONN device.
- Enter code 3883750.
- Download and install Generic Smarters.
- Open the app after installation is complete.
Smarters Player Lite
- Open the Apple App Store.
- Search for Smarters Player Lite.
- Confirm the correct listing before installing.
- Open the app when installation finishes.
XCIPTV PLAYER
- Open the Google Play Store.
- Search for XCIPTV PLAYER.
- Confirm the OTTRUN listing.
- Install and open the app.
IPTV Smarters Pro – Smart IPTV+
- Open the Microsoft Store.
- Search for IPTV Smarters Pro – Smart IPTV+.
- Confirm the developer is ssProx.
- Install and open the app.
The next step is making sure you have your correct Logan Vision username and password before entering anything into the app.
Get Your Logan Vision Login Details
Complete your purchase first, then use the Logan Vision streaming credentials sent after your service is activated.
Complete Your Purchase
Look for the email titled: “Final Step to Activate Your Logan Vision Service.”
If payment is still needed, use that email to go to the Logan Vision Billing Center and complete your purchase.
Get Your Streaming Login Details
After payment is completed and your service is activated, Logan Vision sends the information you need to connect your streaming app.
Check Your Details Before Logging In
Before entering anything into your streaming app, make sure you are using the correct Logan Vision credentials.
- Use your streaming username exactly as provided.
- Use your streaming password exactly as provided.
- Do not use your Billing Center password.
- Watch for extra spaces when copying and pasting.
- Check uppercase and lowercase letters carefully.
Log In to Your Streaming App
You already have the correct app and your Logan Vision login details. Now use the login type that matches your app below.
Generic Smarters
Fire TV Stick • ONN / Google TV
That’s it. Enter your username and password, sign in, and let the app load.
All Other Supported Apps
Smarters Player Lite • XCIPTV PLAYER • IPTV Smarters Pro – Smart IPTV+
Enter all three pieces of information exactly as shown, then complete the login.
Getting “Invalid Details” or Can’t Log In?
Don’t keep changing information or guessing. Go to the Login & App Access Center to check your credentials, activation, app, or device.
Go to Login & App Access →Check Whether You Need a VPN
Some internet and mobile connections may need a VPN for Logan Vision to stream correctly. Use the quick check below before testing your service.
Connect Your VPN Before Streaming
If you use one of these connections, connect your VPN before opening your streaming app.
- AT&T
- T-Mobile
- Starlink
- Verizon Fios
- Mobile cellular data
Close your streaming app → connect your VPN → wait until it shows Connected → reopen your streaming app.
Try Your Service Without a VPN First
If you use another home internet provider, you generally do not need to install or purchase a VPN just to start using Logan Vision.
Leave the VPN off for now and continue to Step 6. If streaming does not work correctly, use the VPN Help page to determine whether your connection is the problem.
Not Sure or Already Having a VPN Problem?
Use the Logan Vision VPN Help guide to find out whether you need a VPN, test your connection, reconnect correctly, or troubleshoot a VPN that says Connected but still will not stream.
Open VPN Help →Test Your Setup
Your app is installed, your login works, and your connection is ready. Now test a few things to make sure your Logan Vision setup is working correctly.
Test Live TV
Open Live TV and try more than one channel. Testing a few channels helps confirm that your setup is working normally.
- Open Live TV.
- Try two or three different channels.
- Make sure video and sound are working.
Test a Movie or Series
After Live TV works, open Movies or Series and test one title.
- Open Movies or Series.
- Select one title.
- Confirm that playback starts normally.
Everything Playing? Your Setup Is Complete.
If Live TV and a movie or series both play correctly, your Logan Vision service is ready to use.
Something Not Playing Correctly?
You do not need to start the setup process over. Use the appropriate Logan Vision troubleshooting guide instead.
Setup Complete.
You’re Ready to Stream.
You did it. Your app is installed, your Logan Vision login is working, your connection is ready, and your playback test is complete. Open your app and enjoy Logan Vision.
Helpful Logan Vision Resources
Keep these links handy whenever you need tutorials, sports information, or service updates.
Video Tutorials
Watch Logan Vision setup videos and quick-fix tutorials for supported devices and common issues.
Watch Setup Videos →Live Sports Updates
Find today’s Logan Vision sports schedule and available event information in one place.
View Live Sports →Service Status
Check current Logan Vision service updates, maintenance, and known issues.
Check Service Status →Still Having Trouble?
Visit the Support & Knowledge Center and choose the issue that best matches what you’re seeing. We’ll direct you to the correct troubleshooting guide.
